
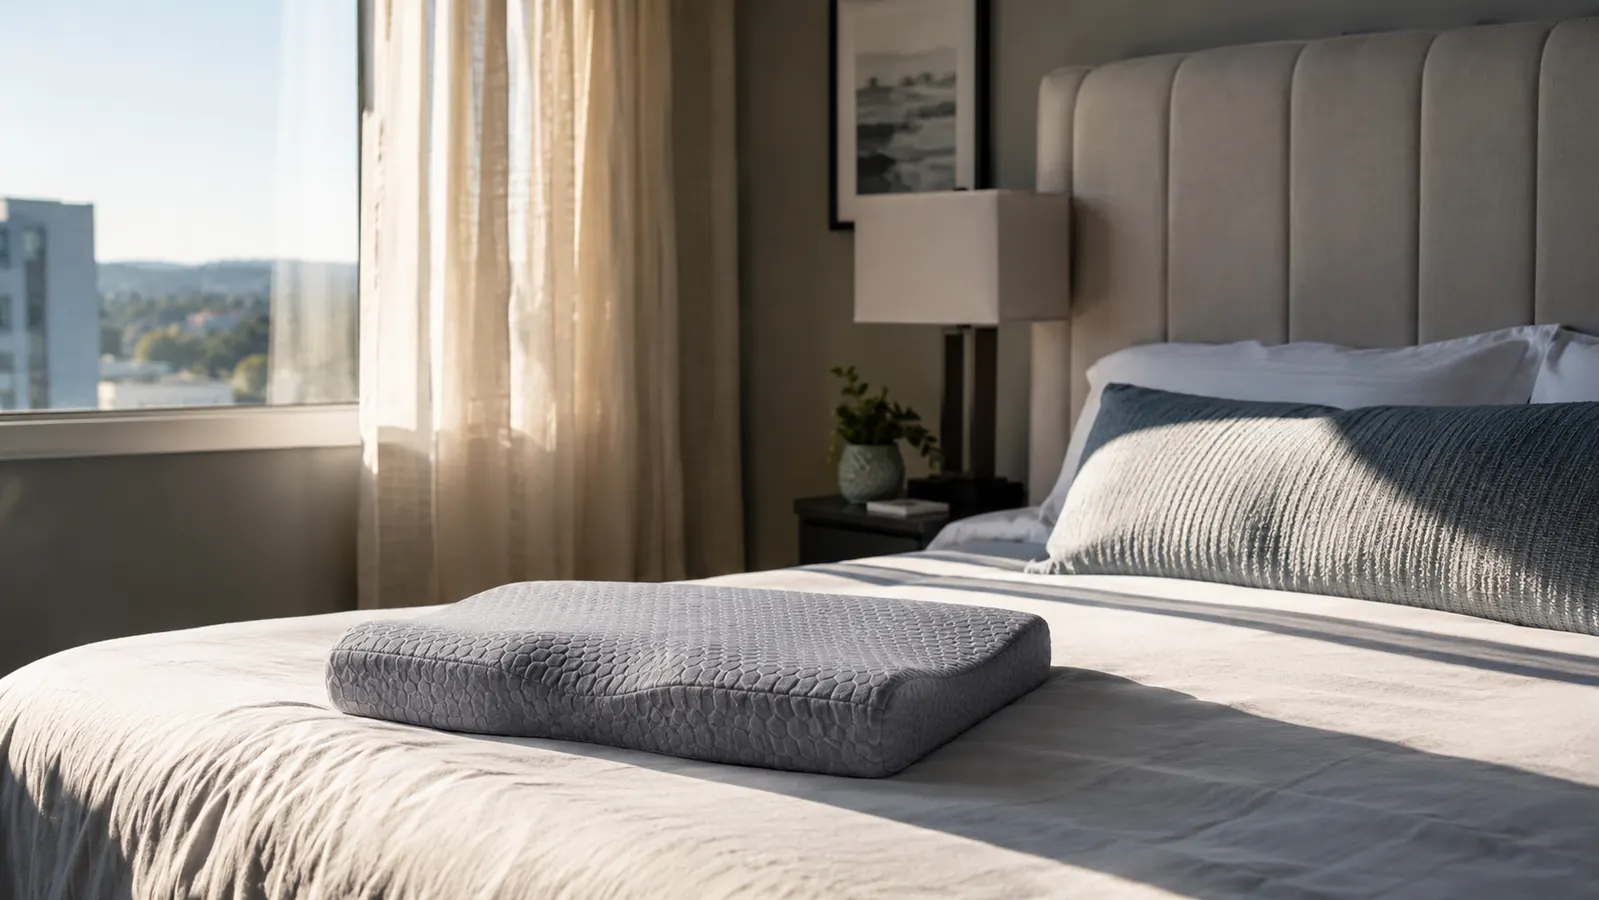
I spent eleven years producing an overnight radio show, which meant I slept from about 9am to 4pm in a west-facing second-floor bedroom where the afternoon sun comes straight through the window. Add daytime traffic noise on the street below and you'd think the heat would be the smaller problem. It wasn't. I could deal with light and noise with curtains and a fan. What I couldn't deal with, for years, was flipping my pillow every twenty minutes trying to find a cool spot that didn't exist anymore, because the foam had already absorbed my body heat and had nowhere to send it.
A cooling pillow fixes that specific problem, but only if you set it up correctly, and most people don't. They buy one, keep the same thick synthetic pillowcase they've always used, leave the ceiling fan off because it's not summer yet, and then decide six weeks later that cooling pillows are a marketing myth. I made two of those mistakes myself before I got this right. Here's the five-step process I actually use now, in the order that matters, using the gel-infused Weekender pillow I've slept on through six full months of daytime sleep.
The pillow every step below assumes you're using
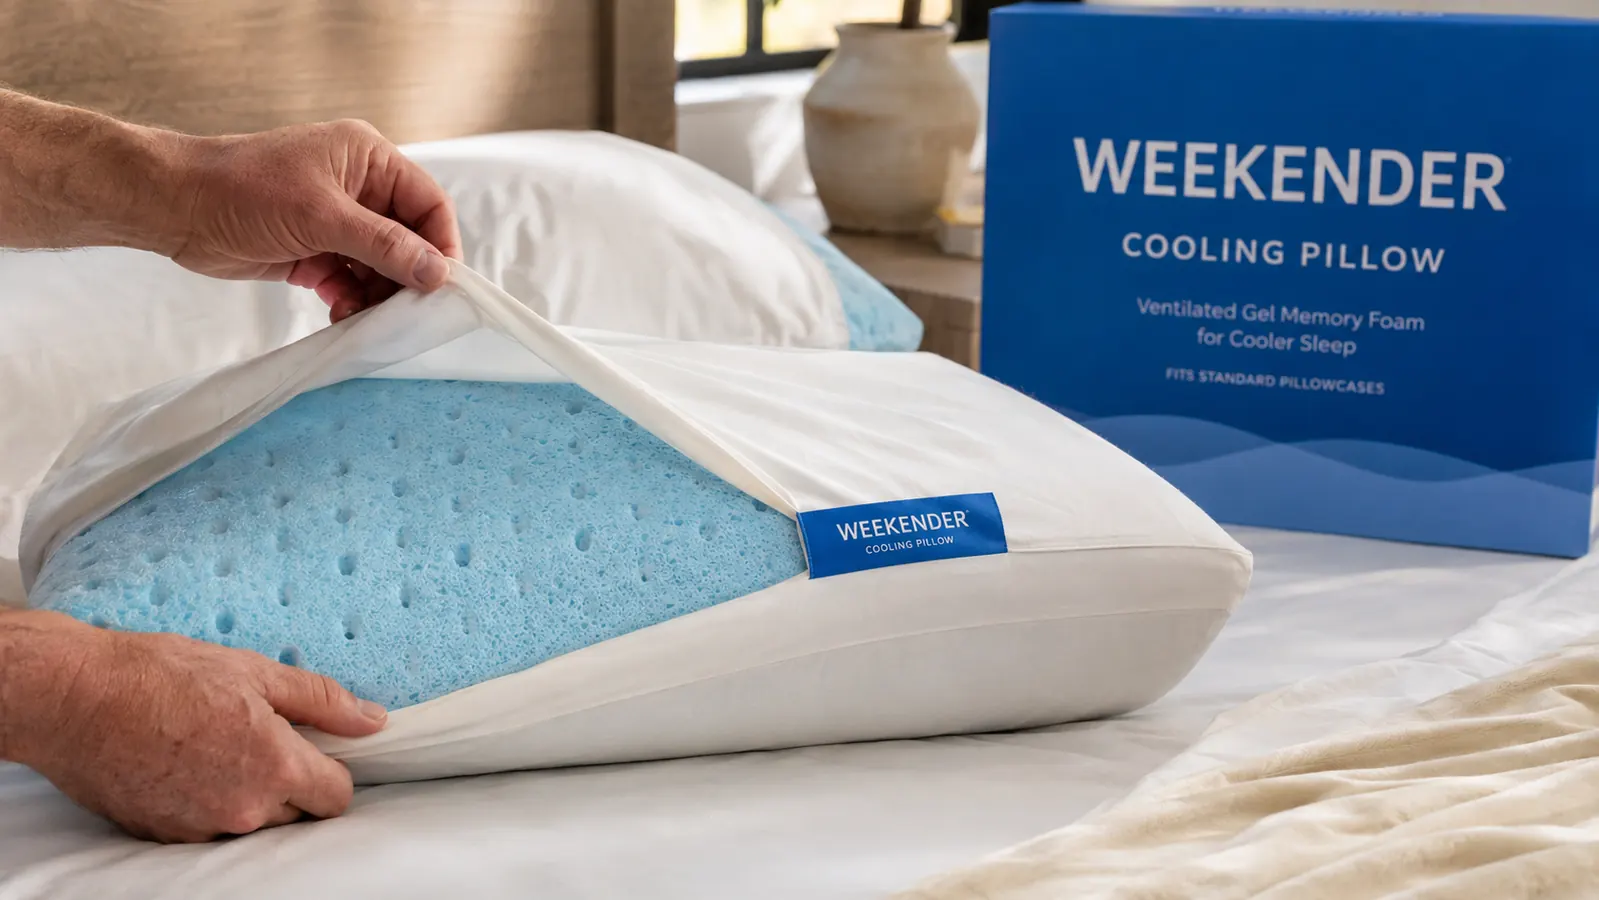
This whole guide is built around a gel-infused, ventilated memory foam pillow, because the steps that follow only work if the pillow itself has somewhere to send heat. This is the one I use nightly.
Amazon Check Today's Price on Amazon →Step 1: Confirm It's Actually a Pillow Problem
Before you spend money on a cooling pillow, figure out whether your neck and shoulders are the hot spot or whether the whole bed runs warm. Press the back of your hand flat against your regular pillow after a nap and hold it there for thirty seconds. If it feels noticeably warmer than the sheet next to it, the pillow is retaining heat that your body put into it and not releasing it, which is a foam density issue, not a room temperature issue. If the whole bed feels equally warm, a cooling pillow will still help around your head and neck, but you'll want to address the mattress and sheets too, which I get into in step five.
For me it was clearly the pillow. My mattress runs on a cooling gel top layer already, and my sheets are lightweight cotton, but the pillow I'd been using for years was dense, closed-cell memory foam that held onto every degree of heat my head produced during six hours of afternoon sleep. Once I isolated that, buying a pillow built specifically to move heat away made sense instead of guessing at a fix.
Run this test on more than one day before you decide, ideally a cooler morning and a hotter afternoon nap, since a pillow that runs warm only on the hottest day of the week points to a room temperature issue more than a foam issue. I did the hand test for four days straight before I trusted the result, because the first day happened to be unusually mild and would have told me the pillow wasn't the problem when it clearly was once the temperature crept back up.
Step 2: Understand What Actually Cools a Pillow
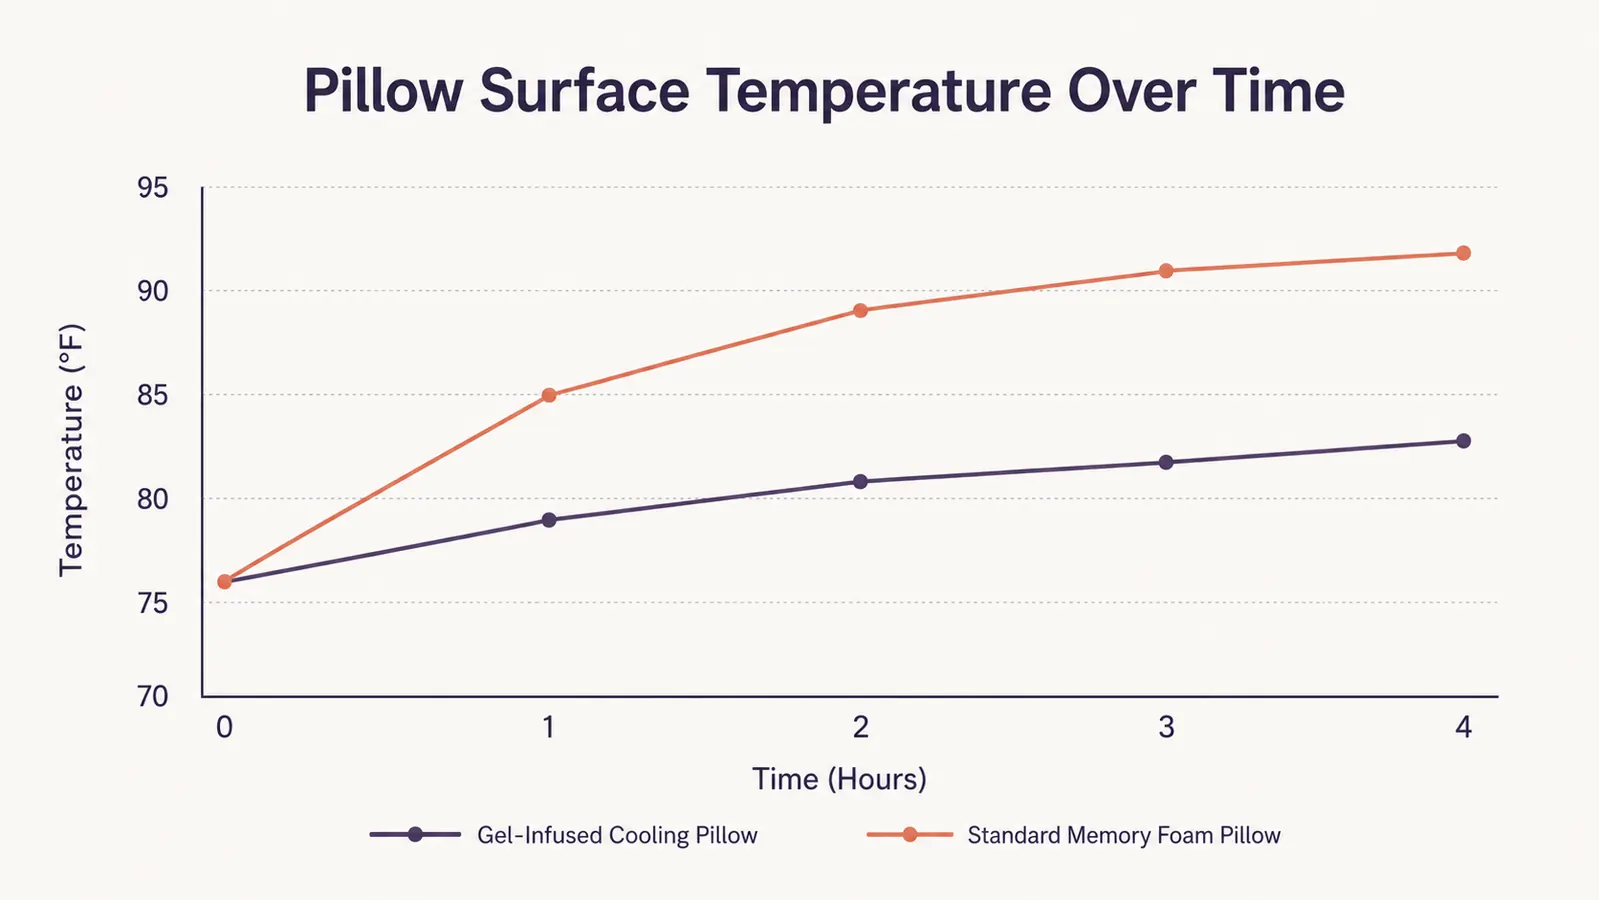
There are two things doing real work in a genuinely cooling pillow, and neither one is the word "cool" printed on the packaging. The first is gel infusion in the foam itself, which pulls heat away from your skin through conduction the same way a marble countertop feels cold to the touch. The second is open-cell, ventilated construction, meaning the foam has visible channels or cutouts that let air actually move through the pillow instead of getting trapped against your scalp. The Weekender pillow I use has both, gel-infused memory foam with a ventilated design, and that combination is why it stays noticeably cooler through the first several hours of sleep than the dense, solid foam I used before.
A lot of pillows marketed as "cooling" only have a cool-touch cover layered over ordinary closed-cell foam underneath. That cover genuinely does feel cold for the first thirty seconds your face touches it, but once your body heat saturates that thin layer, you're back to sleeping on regular foam with nowhere for the heat to go. I learned to check for gel infusion and ventilation in the actual foam, not just the cover, after wasting money on exactly that kind of pillow the year before I found this one.
There's a third category worth knowing about too, phase change material, which absorbs heat through a chemical process rather than conduction alone and tends to cost noticeably more. I tried a phase change pillow briefly and it felt colder for the first few minutes than gel-infused foam does, but that effect faded within the first hour, and I found the gel and ventilation combination held its cooling effect more evenly across a full sleep cycle for a fraction of the price.
Reviews and testing data back this up too. Across a huge number of Weekender buyers, the pillow holds a 4.3 out of 5 star average, and the complaints that do exist are almost never about heat retention specifically, they're about loft preference, which is a different variable I cover in step three.
Step 3: Match the Loft to Your Sleep Position
A cooling pillow only cools the parts of your head and neck actually touching it, which means loft, the height and firmness of the pillow, determines how much cooling surface you're getting contact with. I sleep mostly on my side, so I need enough loft to fill the gap between my ear and my shoulder without my neck bending downward, which would push my face off the cooling surface and against the warmer edge of the pillow instead. Back sleepers generally want a lower, softer loft so the head doesn't tip forward. Stomach sleepers want the lowest loft of all three positions, or the neck ends up in a strained angle regardless of how cool the foam is.
The standard Weekender pillow works for side and back sleeping without modification, and it's sold in queen and king sizes so the width matches your mattress rather than just the loft matching your position. If you toss between positions through the night the way I do on hot afternoons when I can't settle, err toward the loft that suits whichever position you fall asleep in first, since that's when your body is producing the most heat and needs the most contact with the cooling surface.
If you sleep with a second pillow between your knees, which a lot of side sleepers do for hip alignment, that second pillow matters for heat too. A dense synthetic knee pillow trapped between two legs generates its own pocket of warmth that radiates back toward the rest of the bed. Swapping it for a smaller, lighter foam wedge cuts down on that extra heat source without giving up the alignment benefit.
Step 4: Pick a Pillowcase That Doesn't Undo the Work
This is the step almost everyone skips, and it's the reason a lot of people buy a cooling pillow and don't notice much difference. A thick, synthetic, tightly woven pillowcase sits between your skin and the gel-infused foam and blocks a meaningful amount of the heat transfer the pillow is designed to do. I switched to a lightweight, breathable cotton percale pillowcase specifically for this pillow, and the difference was immediate, closer to sleeping directly on the foam than I expected a case to allow.
Percale is woven tighter and thinner than sateen, which sounds backward but works in cooling's favor because it breathes rather than insulates. Bamboo-derived fabrics and TENCEL work well for the same reason. What you want to avoid is flannel, heavy jersey knit, or anything advertised primarily for softness rather than breathability, since softness in fabric usually comes from trapped air pockets, and trapped air is exactly what a cooling pillow is trying to get rid of.
The same logic applies one layer down if you use a pillow protector under the case. A vinyl or laminated waterproof protector will trap heat almost as badly as a bad pillowcase, so if you need protection for allergies or spills, look for a breathable, terry cotton protector instead of a plastic-backed one. I skipped a protector entirely on this pillow for the first two months and only added a breathable one once I confirmed it didn't undo the cooling effect.
Step 5: Fix the Room, Not Just the Pillow
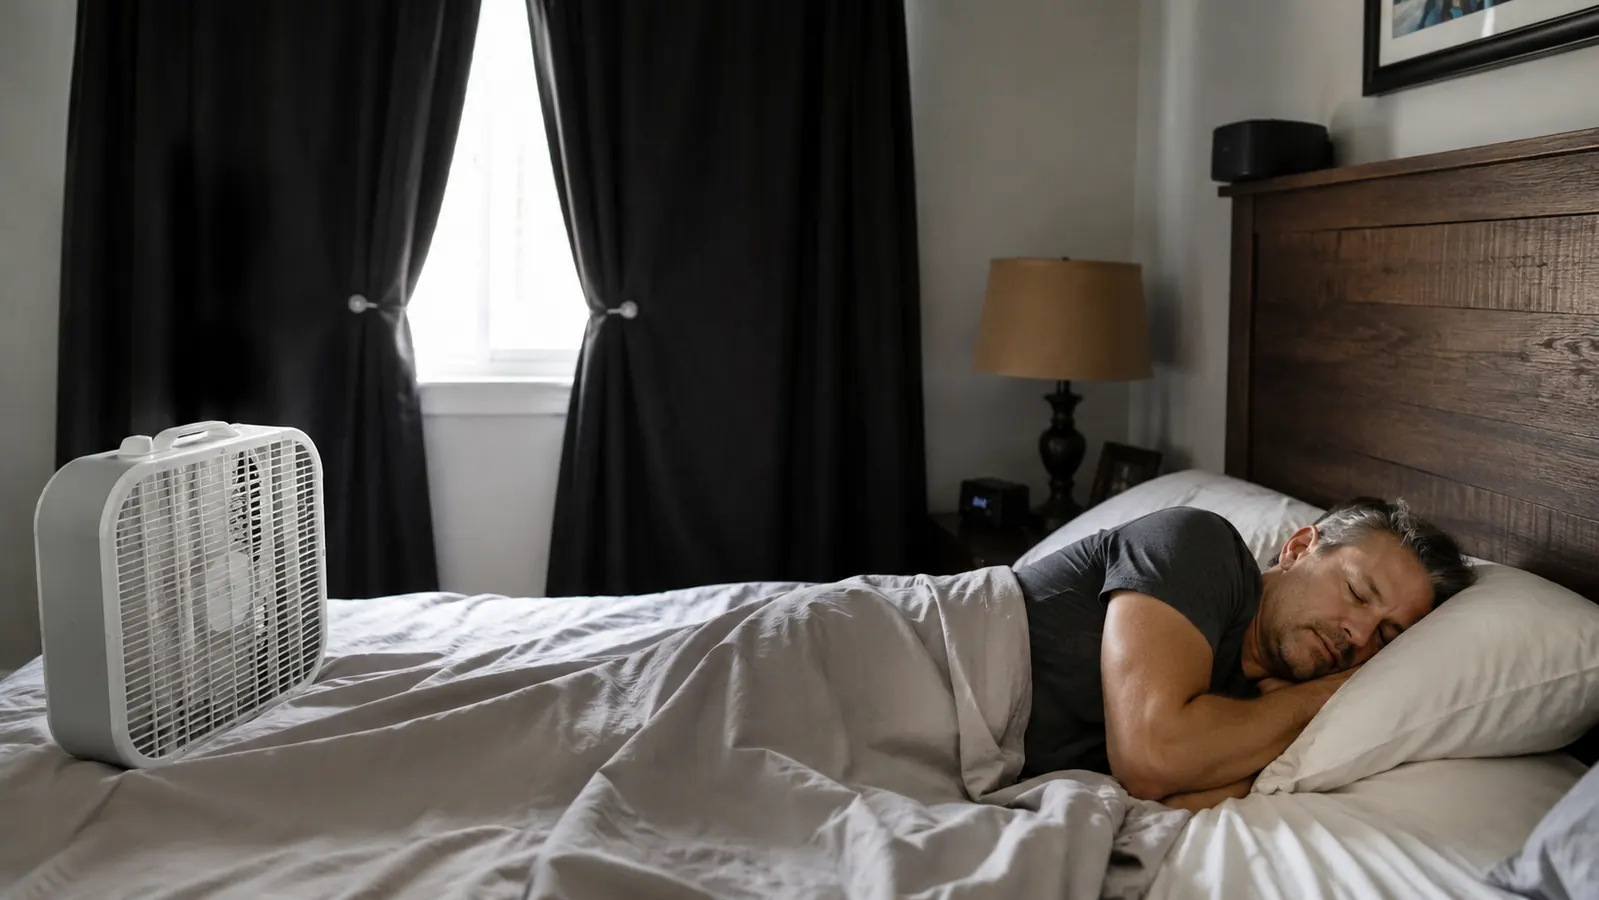
A cooling pillow solves the point of contact between your head and the bed. It does not solve a bedroom that's genuinely too warm to sleep in, and no pillow, however well engineered, will make an 80 degree room feel like a 68 degree one. In my case, sleeping through the hottest part of the afternoon with a west-facing window meant the pillow was necessary but never sufficient on its own. I run a box fan angled across the bed rather than pointed straight at my face, which moves air across the pillow's ventilation channels and helps it shed heat faster than sitting in still air.
Blackout curtains matter here too, not just for light, since a sun-warmed window radiates heat into the room for hours after direct sun has moved past it. Cinching the curtains tight against the window frame rather than just closing them cuts down on that radiant heat noticeably. If your thermostat has a schedule feature, set it to drop a degree or two right before your actual bedtime, whatever hour that happens to be, rather than assuming everyone sleeps at night and programming around that default.
Humidity matters as much as raw temperature, and it's the piece most people never check. A room can read 72 degrees on the thermostat and still feel sticky and airless if humidity is high, which slows down how fast sweat evaporates off your skin and off the pillow. A small dehumidifier in a west-facing bedroom that bakes all afternoon made a bigger difference to how the pillow felt than another degree off the thermostat did, and it's worth ruling out before assuming you need a stronger fan or a colder room.
What Else Helps
Beyond the five steps above, a few smaller things add up. Washing your pillowcase more often than you think you need to matters more with a cooling pillow than a regular one, since body oils and sweat build up on the fabric and reduce breathability over time even with the right material. I also keep a second cooling pillow in rotation and swap them mid-week, which gives each one a full day to fully release absorbed heat before I use it again. None of this replaces the pillow itself doing its job, but it's the difference between a pillow that works well for a month and one that keeps working a year in. If you want the fuller list of why a gel-infused, ventilated pillow addresses night sweats specifically, I laid out ten distinct mechanisms in this piece on why cooling pillows stop night sweats, and if you want the unfiltered pros and cons after months of actually using this exact pillow, that's covered in my honest review of the Weekender cooling pillow.
The pillow fixes the point of contact. The room, the case, and the loft decide whether it ever gets the chance to.
Start with the pillow that has somewhere to send the heat
Every step in this guide depends on the foam itself being built to move heat away, not just a cold-feeling cover on top of the same old foam. This is the pillow I use.
Amazon Check Today's Price on Amazon →