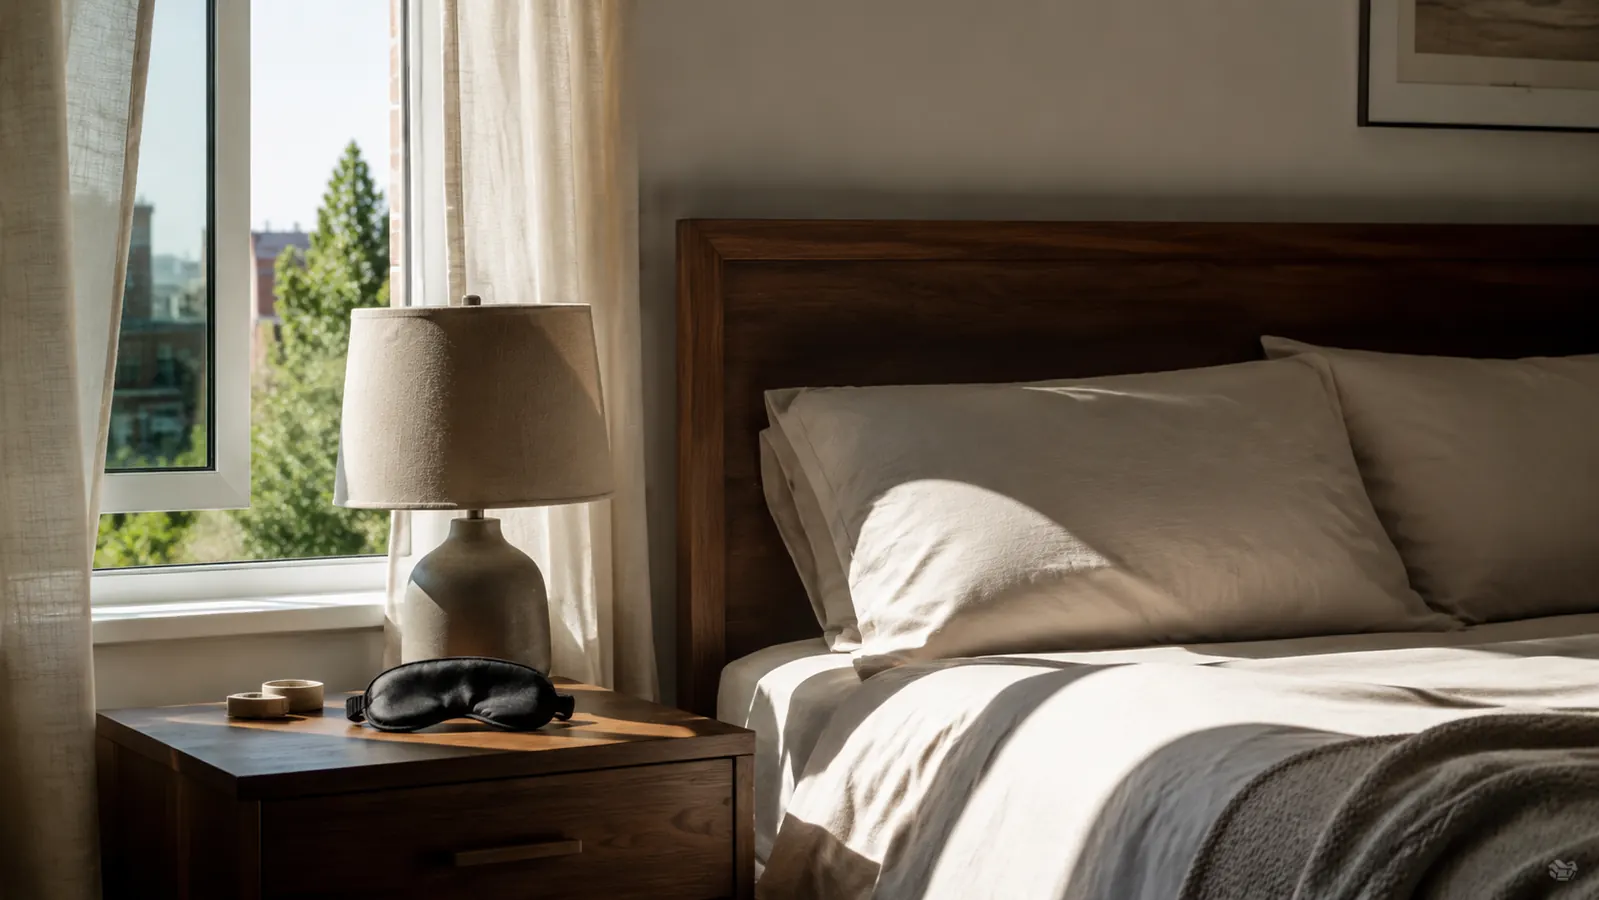
I spent eleven years producing an overnight radio show, which meant my actual bedtime was somewhere around 9am. My bedroom faces west, second floor, and by the time I got under the covers the morning sun hadn't even hit the window yet. By 1 or 2pm it was pouring straight through, along with the daytime traffic noise from the street below. A sleep mask wasn't optional for me. It was the only thing standing between me and four hours of sleep instead of seven, on a schedule nobody else in my house was keeping.
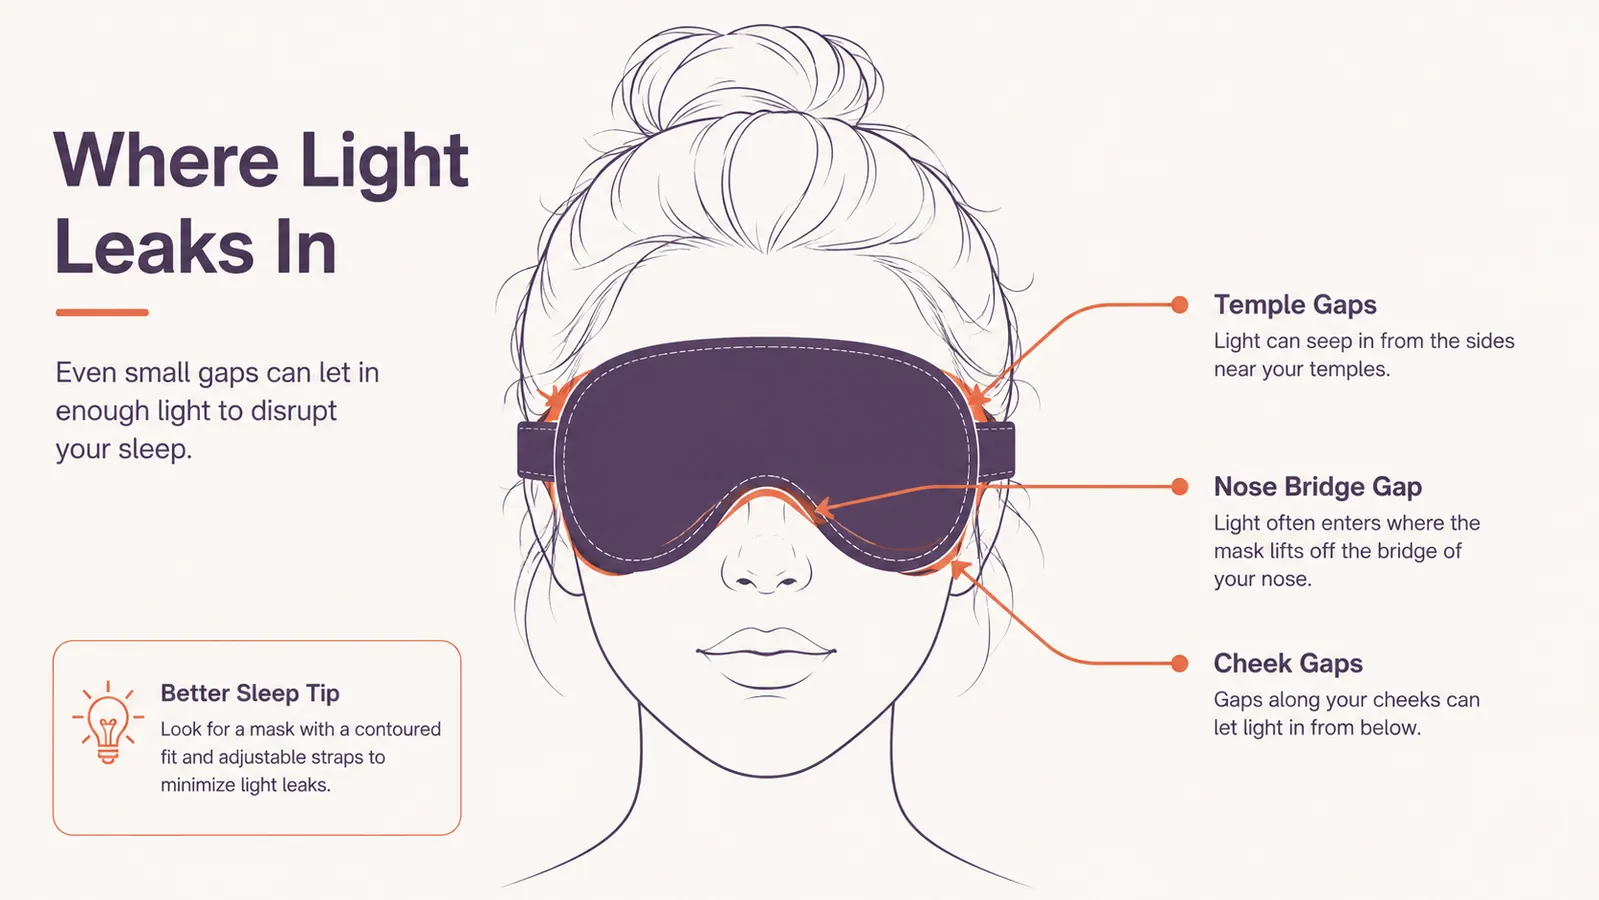
Here's what took me embarrassingly long to figure out: almost everyone who says a sleep mask "doesn't work" is wearing one wrong. Light sneaks in at the nose, the temples, and the cheekbones long before it gets through the fabric itself, and no amount of "100% blackout" marketing on the box fixes a mask that's shaped wrong for your face. The mask I settled on after trying a stack of them is the MZOO Luxury Sleep Mask, and most of why it beat the others isn't the material, it's the shape. But shape only matters if you fit it correctly, so here's the exact five-step process I use every single afternoon before I close the curtains and get in bed, the same order every time.
The Mask That Finally Beat My 2pm Sun
If you're sleeping on a schedule that fights daylight, the fit matters more than the fabric. Here's the mask I landed on after years of daytime sleep, and the exact reason it's still in rotation.
Amazon Check Today's Price on Amazon →Step 1: Pick the Right Fit Before You Ever Put It On
Most sleep masks are flat fabric pressed against your face, which sounds fine until you actually try to sleep on your side. Flat masks bunch up against the pillow and pop open at the edges every time you shift. A contoured mask, like the 3D cups on the MZOO, holds its shape independent of pressure, so your eyelids never touch the fabric and the shell doesn't collapse when your cheek hits the pillow.
Before you put it on for the first time, check that the cups sit deep enough to clear your eyelashes without you having to blink hard to test it. If your lashes brush the inside of the mask within the first ten seconds of trying it on, that's not a fit you'll tolerate for six or seven hours. Size and cup depth matter more than any spec sheet claim about "blackout" material, and they're also the thing most people skip checking entirely.
Face width matters too, more than most people expect. If the mask is noticeably wider than your face, the cups sit too far out toward your temples and leave a gap right where your cheekbone curves in. If it's too narrow, the cups press directly on your eyelids no matter how you adjust the strap. Try it on in a mirror before your first real sleep attempt, not after you've already committed to a nap, standing under a bright light so any gap is obvious immediately.
I've gone through this in detail elsewhere, including what actually changed for me over several months of nightly use, in my full honest review of this mask. The short version for this guide: the cup depth is the single biggest reason this one stayed on my face instead of in a drawer.
Step 2: Set the Contoured Cups Before You Touch the Strap
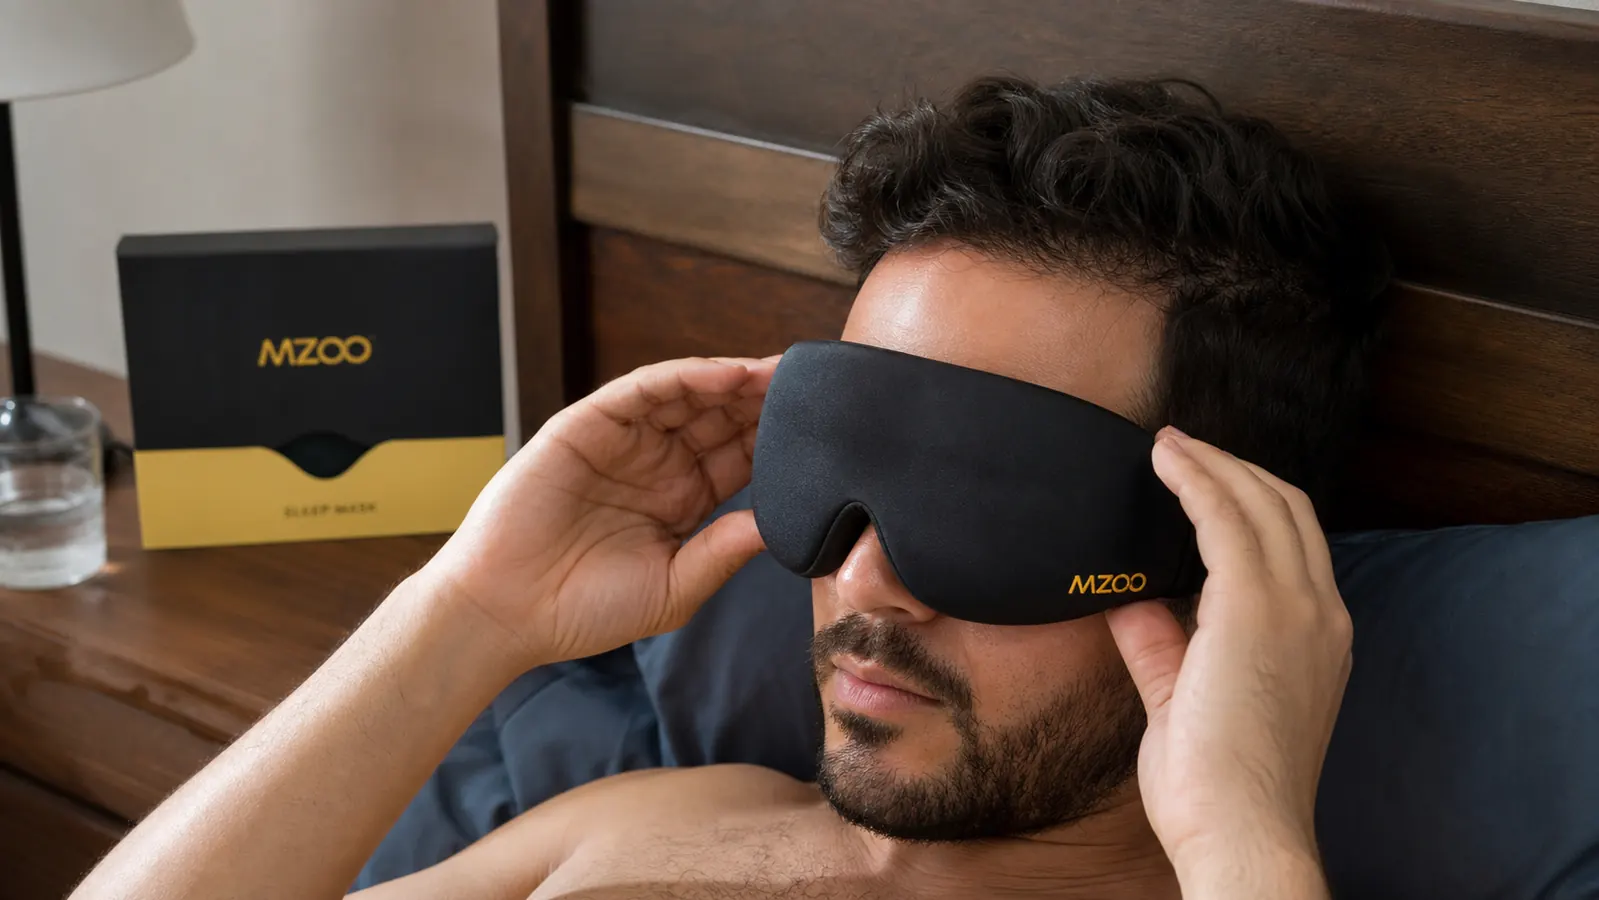
The order you put a mask on actually changes how well it seals. Most people grab the strap first and pull the whole thing tight, which mashes the eye cups sideways and creates gaps at exactly the spots you're trying to cover. Instead, hold the mask loosely in front of your face first and center the cups directly over your eye sockets before the strap ever touches your head.
Line the bottom edge of the mask along your cheekbones, not your nose. This sounds like a small detail, but it's the difference between the mask resting on bone, where it can't shift, versus resting on soft tissue, where it slides every time you turn over. Once the cups are centered and low enough to clear your eyelashes, hold that position with one hand while you bring the strap around with the other.
If you wear the mask cross-eyed or too high on your first attempt, don't try to fix it by tightening the strap. Take it off and start the placement over. Tightening a badly placed mask just locks in the gap instead of closing it, and you'll spend the whole afternoon shift fighting a sliver of light at your temple instead of sleeping through it.
Step 3: Adjust the Strap in Two Stages, Not One
The strap on a contoured mask has one job: hold the cups in place without clamping your head like a vice. Do this in two passes instead of one big pull. First, snug the strap just enough that the mask stays put if you tilt your head forward, no tighter. Move around a little, turn your head side to side, and see if the cups shift.
Second pass, tighten only as much as needed to stop whatever shifting you noticed in the first pass. On the MZOO, the back strap has a wide adjustable band specifically so you're not relying on a single thin elastic doing all the work, which means you rarely need it as tight as your instinct tells you.
A mask that's too tight creates its own problem: pressure headaches and sore spots behind the ears by hour three, which will wake you up just as reliably as light does. If you find yourself readjusting the strap more than once a week, it's usually too tight rather than too loose. Loosen it a notch before you assume the mask itself is the issue.
If you sleep on your back most nights, you can usually go a notch looser than a side sleeper needs, since there's no pillow pressure pushing the mask sideways. I keep two different strap settings loosely memorized, one for the nights I fall asleep on my back and one for when I already know I'll end up on my side by hour two. Writing the setting down somewhere, even just a note on your phone, saves you from redoing this trial and error every single week.
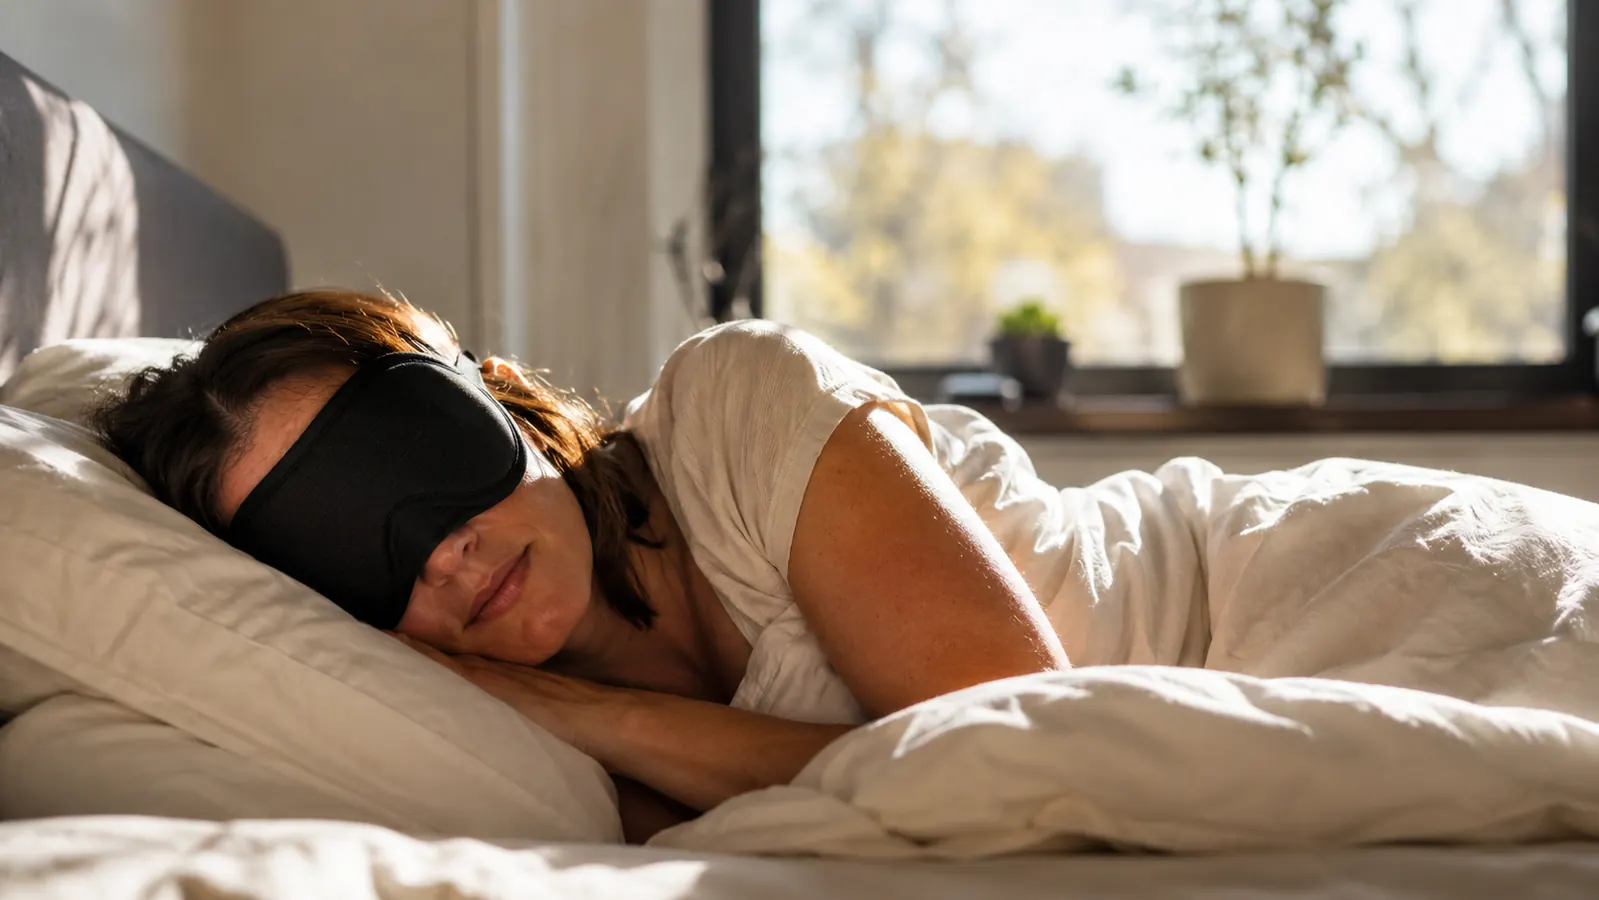
Step 4: Seal the Edges at the Nose and Temples
This is where almost every light leak actually happens. The bridge of the nose and the outer corners near your temples are the two gaps a flat mask can never close, because there's no contouring to route around your bone structure. A mask with a soft nose flap, like the one built into the MZOO's design, is meant to be pressed down against the bridge of your nose, not left floating above it.
After you've set the cups and adjusted the strap, run one finger along the underside of the nose bridge and press the foam flap flush against your skin. Do the same at both temples, tucking any stray hair out of the seam so it isn't propping the edge open by even a few millimeters. It only takes one small gap at the temple to let in enough 2pm sun to register through closed eyelids.
If you wear glasses during the day or have particularly prominent cheekbones, this step deserves an extra thirty seconds. Sit up in front of a mirror once, in daylight, and check for any bright line around the edge of the mask before you ever try to fall asleep in it. Fixing it while you can see it beats discovering it at 1pm with the sun already in your eyes.
Skin oils and moisturizer can also loosen the seal over the course of an afternoon, especially at the nose bridge where the foam flap sits directly against skin. If you notice the mask sliding by hour three even after a good initial fit, that's often the reason, not a defect in the mask itself. A quick reseat after a bathroom break usually solves it without any adjustment to the strap.
Step 5: Test the Seal in the Room You Actually Sleep In
A mask that seals fine in a dim bathroom can still fail in a bedroom with direct afternoon sun. Test the fit in the actual room and at the actual time of day you'll be sleeping. For me that means testing at 1 or 2pm, west-facing window, sheers open, because that's the harshest light my bedroom sees and the real test of whether the mask earns its keep.
Put the mask on, lie down in your normal sleep position, and hold still for a full minute. Then move through your usual shifts, onto your side, half onto your stomach, however you actually sleep, and check whether any light appears at the edges each time you move. A seal that only works lying perfectly still isn't a seal, it's a coincidence.
This is also the point where you'll know if you need a different size or if the fit is already right. Give it three or four nights of actual daytime sleep before deciding either way. A mask can feel slightly off on night one and disappear completely by night four once you've learned exactly how you like the strap and cups positioned. Write down whatever strap notch works so you're not re-solving the fit from scratch every afternoon.
Give the whole process a full week before you judge whether the mask itself is right for you. The first few afternoons are mostly about learning your own face, not the product. By the second week, putting it on correctly stops being a five-step checklist and turns into one motion you don't think about, which is really the whole point of getting the fit right in the first place.
What Else Helps
A well-fitted mask solves most of the light problem on its own, but it isn't the only piece. Blackout curtains cut down how much sun is hitting the window in the first place, which means the mask isn't working as hard and lasts longer before you notice any drift in the fit. I run both in my bedroom, curtains for the bulk of the light and the mask for the seal around my eyes specifically.
If you're renting or can't install blackout hardware, the mask alone still does the heavier lifting, and I go through the rest of the case for that in the other reasons a mask beats curtains on their own. Earplugs or a white noise setup handle the traffic noise side of daytime sleep, which is a separate problem the mask was never going to solve on its own, no matter how well it seals.
The mask doesn't need to be dark. It needs to not have gaps. Those are two completely different problems.
Stop Fighting the Fit Every Afternoon
A mask that's shaped wrong will never seal right, no matter how many times you tighten the strap. This is the one that finally held its shape on my face, week after week.
Amazon See Today's Price on Amazon →